Jupyter#
Connect to OnDemand#
In our cluster, Jupyter can only be run through OnDemand. To connect to Open OnDemand, please follow our Connecting Guide.
Open the Jupyter Notebook#
To open Jupyter Notebook, please follow the instructions in our Open OnDemand Guide.
Import libraries#
The same way as when you're using Python in the Terminal or on a script, you can import libraries in Jupyter, you will have access to the same libraries that you have access to in the command line. If you need to install a new library, go to the Terminal and login to the cluster. Then, load the python module and install the corresponding library. For example:
module load python
pip install matplotlib --user
You will need to restart your Kernel in Jupyter Notebook to capture the changes. In the top menu, click Kernel and then Restart Kernel.
Custom Python in Jupyter#
If you have installed a Python or Conda environment in your home directory, you can use it inside Jupyter Notebook. The following examples show creation of a kernel for use in Jupyter.
Python Virtual Environment#
To activate:
# Activate your python environment
$ source myenv/bin/activate
To add a Jupyter kernel:
# Add a kernel
(myenv) $ python -m ipykernel install --user --name myenv --display-name "Python (myenv)"
/home/user/myenv/bin/python: No module named ipykernel
# Install ipykernel for your user if it isn't installed
(myenv) $ pip install ipykernel --user
# Install a Python (myenv) Kernel in your python environment
(myenv) $ python -m ipykernel install --user --name myenv --display-name "Python (myenv)"
Installed kernelspec myenv in /home/user/.local/share/jupyter/kernels/myenv
To deactivate:
# Deactivate your python environment
deactivate
Now you can open a new or an existing Jupyter Notebook. In the upper menu, click on Kernel, then Change Kernel, and select "Python (myenv)". Now Jupyter Notebook will use your selected Python environment. You may need to restart the kernel to use updated packages.
Conda Environment#
To activate:
# Activate your conda environment
$ conda activate mycondaenv
To add a Jupyter kernel:
# Make sure you have python in your conda environment
$ conda list | grep python
# If you don't have python there, install it
$ conda install python
$ conda list | grep python
python                    3.13.2          hf636f53_101_cp313    conda-forge
python_abi                3.13                    5_cp313    conda-forge
# Install ipykernell
$ conda install ipykernel
# Install a Python (myenv) Kernel in your conda environment
$ python -m ipykernel install --user --name mycondaenv --display-name "Python (mycondaenv)"
Installed kernelspec mycondaenv in /home/user/.local/share/jupyter/kernels/mycondaenv
To deactivate:
# Deactivate your conda environment
$ conda deactivate
Now you can open a new or an existing Jupyter Notebook. In the upper menu, click on Kernel, then Change Kernel, and select "Python (mycondaenv)". Now Jupyter Notebook will use your selected Python environment. You may need to restart the kernel to use updated packages.
Using Jupyter Notebook#
Once you are in Jupyter Notebook, you can type any Python commands into the cells and execute them with the play button or in the upper menu, selecting Run, and then Run Selected Cell, or using the keys shift+return while located over the cell that you want to execute. You can follow this complete Python guide to learn how to program in Python.
One of the advantages of using Jupyter Notebook is to be able to visualize plots right next to the code. The Matplotlib User Guide has a lot of Useful Examples for doing just that.
Please visit The Jupyter Notebook documentation for more details about Jupyter Notebook and how to use it.
Jupyter Notebook Shortcuts#
To enter Command Mode in the current cell, use the Esc key in your keyboard. While in Command Mode you can use the following keys:
| Key | Action |
|---|---|
| a | Inserts a new cell above the current one. |
| b | Inserts a new cell below the current one. |
| c | Copies the current cell. |
| d + d | Deletes the current cell. |
| Shift + l | Show/hide line numbers. |
| m | Converts the current cell to a markdown cell. |
| Shift + m | Merge selected cells. |
| s | Save the notebook. |
| v | Paste a copied or cut cell(s). |
| x | Cuts the current cell. |
| y | Converts the current cell to a code cell. |
| z | Undoes the deletion of a cell. |
| up/down arrows | Navigate through the cells. |
| Shift + up/down arrows | Select multiple cells. |
To enter Edit Mode in the current cell, press Enter. While in Edit Mode you can use the following keys:
| Key | Action |
|---|---|
| Alt + Enter | Runs the current cell and inserts one below. |
| Ctrl + Enter | Runs the current cell and keeps it selected. |
| Ctrl + Shift + up/down arrows | Move current cell up/down. |
| Shift + Control + c | Open search menu |
| Shift + Control + f | Open/close file menu |
| Shift + Enter | Runs the current cell and moves to the next one. |
IPython Magic Commands#
IPython magic commands provide shortcuts for common tasks. To see the list of all magic commands, type %lsmagic in a cell and then run the cell or visit the IPython Documentation. Here are a few examples of useful things that can be done using the IPython Magic commands:
| Command | Use |
|---|---|
%%bash |
Run the content of the current cell as Bash. |
%conda |
Run the conda package manager. |
%env |
List all current environment variables. |
%env VARIABLE_NAME=value |
Set a new environment variable. |
%%html |
Render the current cell as html code. |
%%javascript |
Run the current cell as Javascript code. |
%load path/to/script.py |
Load the contents of a python script into the current cell. |
print(os.environ['VARIABLE_NAME']) |
Print the value of an environment variable. |
%%markdown |
Render the current cell as Markdown. |
%run path/to/script.py |
Execute a python script. |
%store var |
Save the value of a variable to use in a different cell or Jupyter Notebook. |
%store -r var |
Re-use a stored variable from a different Jupyter notebook. |
del var |
Remove a stored variable. |
%%time |
Print the execution time of a cell. |
%time |
Print the execution time of a line. |
%who |
See list of environment variables. |
Shell commands#
As we saw in the table above, you can execute a cell as Bash instead of Python using the %%bash magic command. But you can also execute a single line as bash by preceding the line with !.
If the current Kernel is from a Conda environment, you might get command not found errors when trying to run binaries included in your conda environment. This is because the command is not available in the default shell environment used by Jupyter Notebook. Jupyter Notebook will not automatically activate your Conda environment when using shell commands with !. In order to do that you would have to add the following code to a cell and then execute it:
import os
env_path = "/hpc/apps/miniforge/envs/alevinfry-0.11.1/bin"
os.environ['PATH'] = env_path + os.pathsep + os.environ['PATH']
After, you will be able to run the usual commands that you would run in the command line after activating the environment. For example, !alevin-fry --version.
You can use the output of a shell command and save it in a Python variable:
myfiles = !ls
print(myfiles[2])
Markdown cells#
You can run cells as Markdown using the magic command shown in the table above %%markdown or selecting Markdown as the language of the current cell. The Markdown Guide is a great place to start learning Markdown.
Latex formulas#
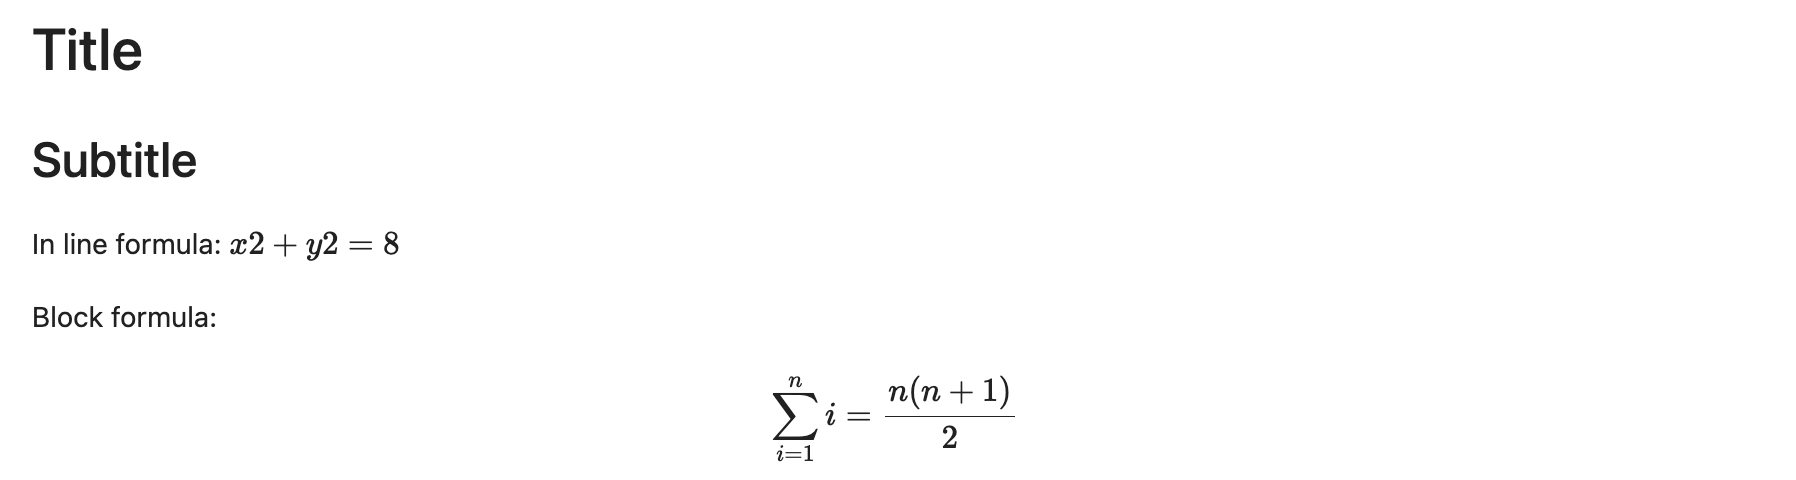
You can use Latex to display formulas within Markdown cells. To display Latex code within the current line, surround your expression with a dollar sign on each side. For example: $x2+y2=8$. To display the formula in a separate line, wrap it with two dollar signs before and after the Latex code.
For example, the following Markdown cell:

Will generate the following output when run:
Display media#
You can display different type of media in your Jupyter Notebook, including images, audio, video or PDF files.
The following example displays an image:
import os
from IPython.display import display, Image
display(Image('myfile.png'))
The following example displays a pdf:
from IPython.display import IFrame
IFrame("mypdf.pdf", width=800, height=600)
You can display videos in a html cell:
<iframe width="560" height="315" src="https://www.youtube.com/embed/2TT1EKPV_hc" frameborder="0" allowfullscreen></iframe>